As the world increasingly embraces renewable energy sources, solar power stands out as a reliable and sustainable option for both residential and commercial properties. If you’re considering making the switch to solar energy, understanding the solar panel installation process is crucial. In this comprehensive guide, we’ll walk you through each step of the installation process, ensuring that you are well informed and ready to embark on your journey toward energy independence.
Why Choose Solar Panels?
Before diving into the installation process, let’s briefly explore why solar panels are a smart investment:
- Cost Savings: Solar panels can significantly reduce or even eliminate your electricity bills.
- Environmental Impact: By using solar energy, you reduce your carbon footprint and contribute to a cleaner environment.
- Energy Independence: Solar panels give you control over your energy source, reducing dependence on the conventional power grid.
- Increase Property Value: Homes with solar panel installations are often valued higher due to the long-term savings on energy costs.
With these benefits in mind, let’s delve into the solar panel installation process.
Step 1: Initial Consultation and Site Assessment
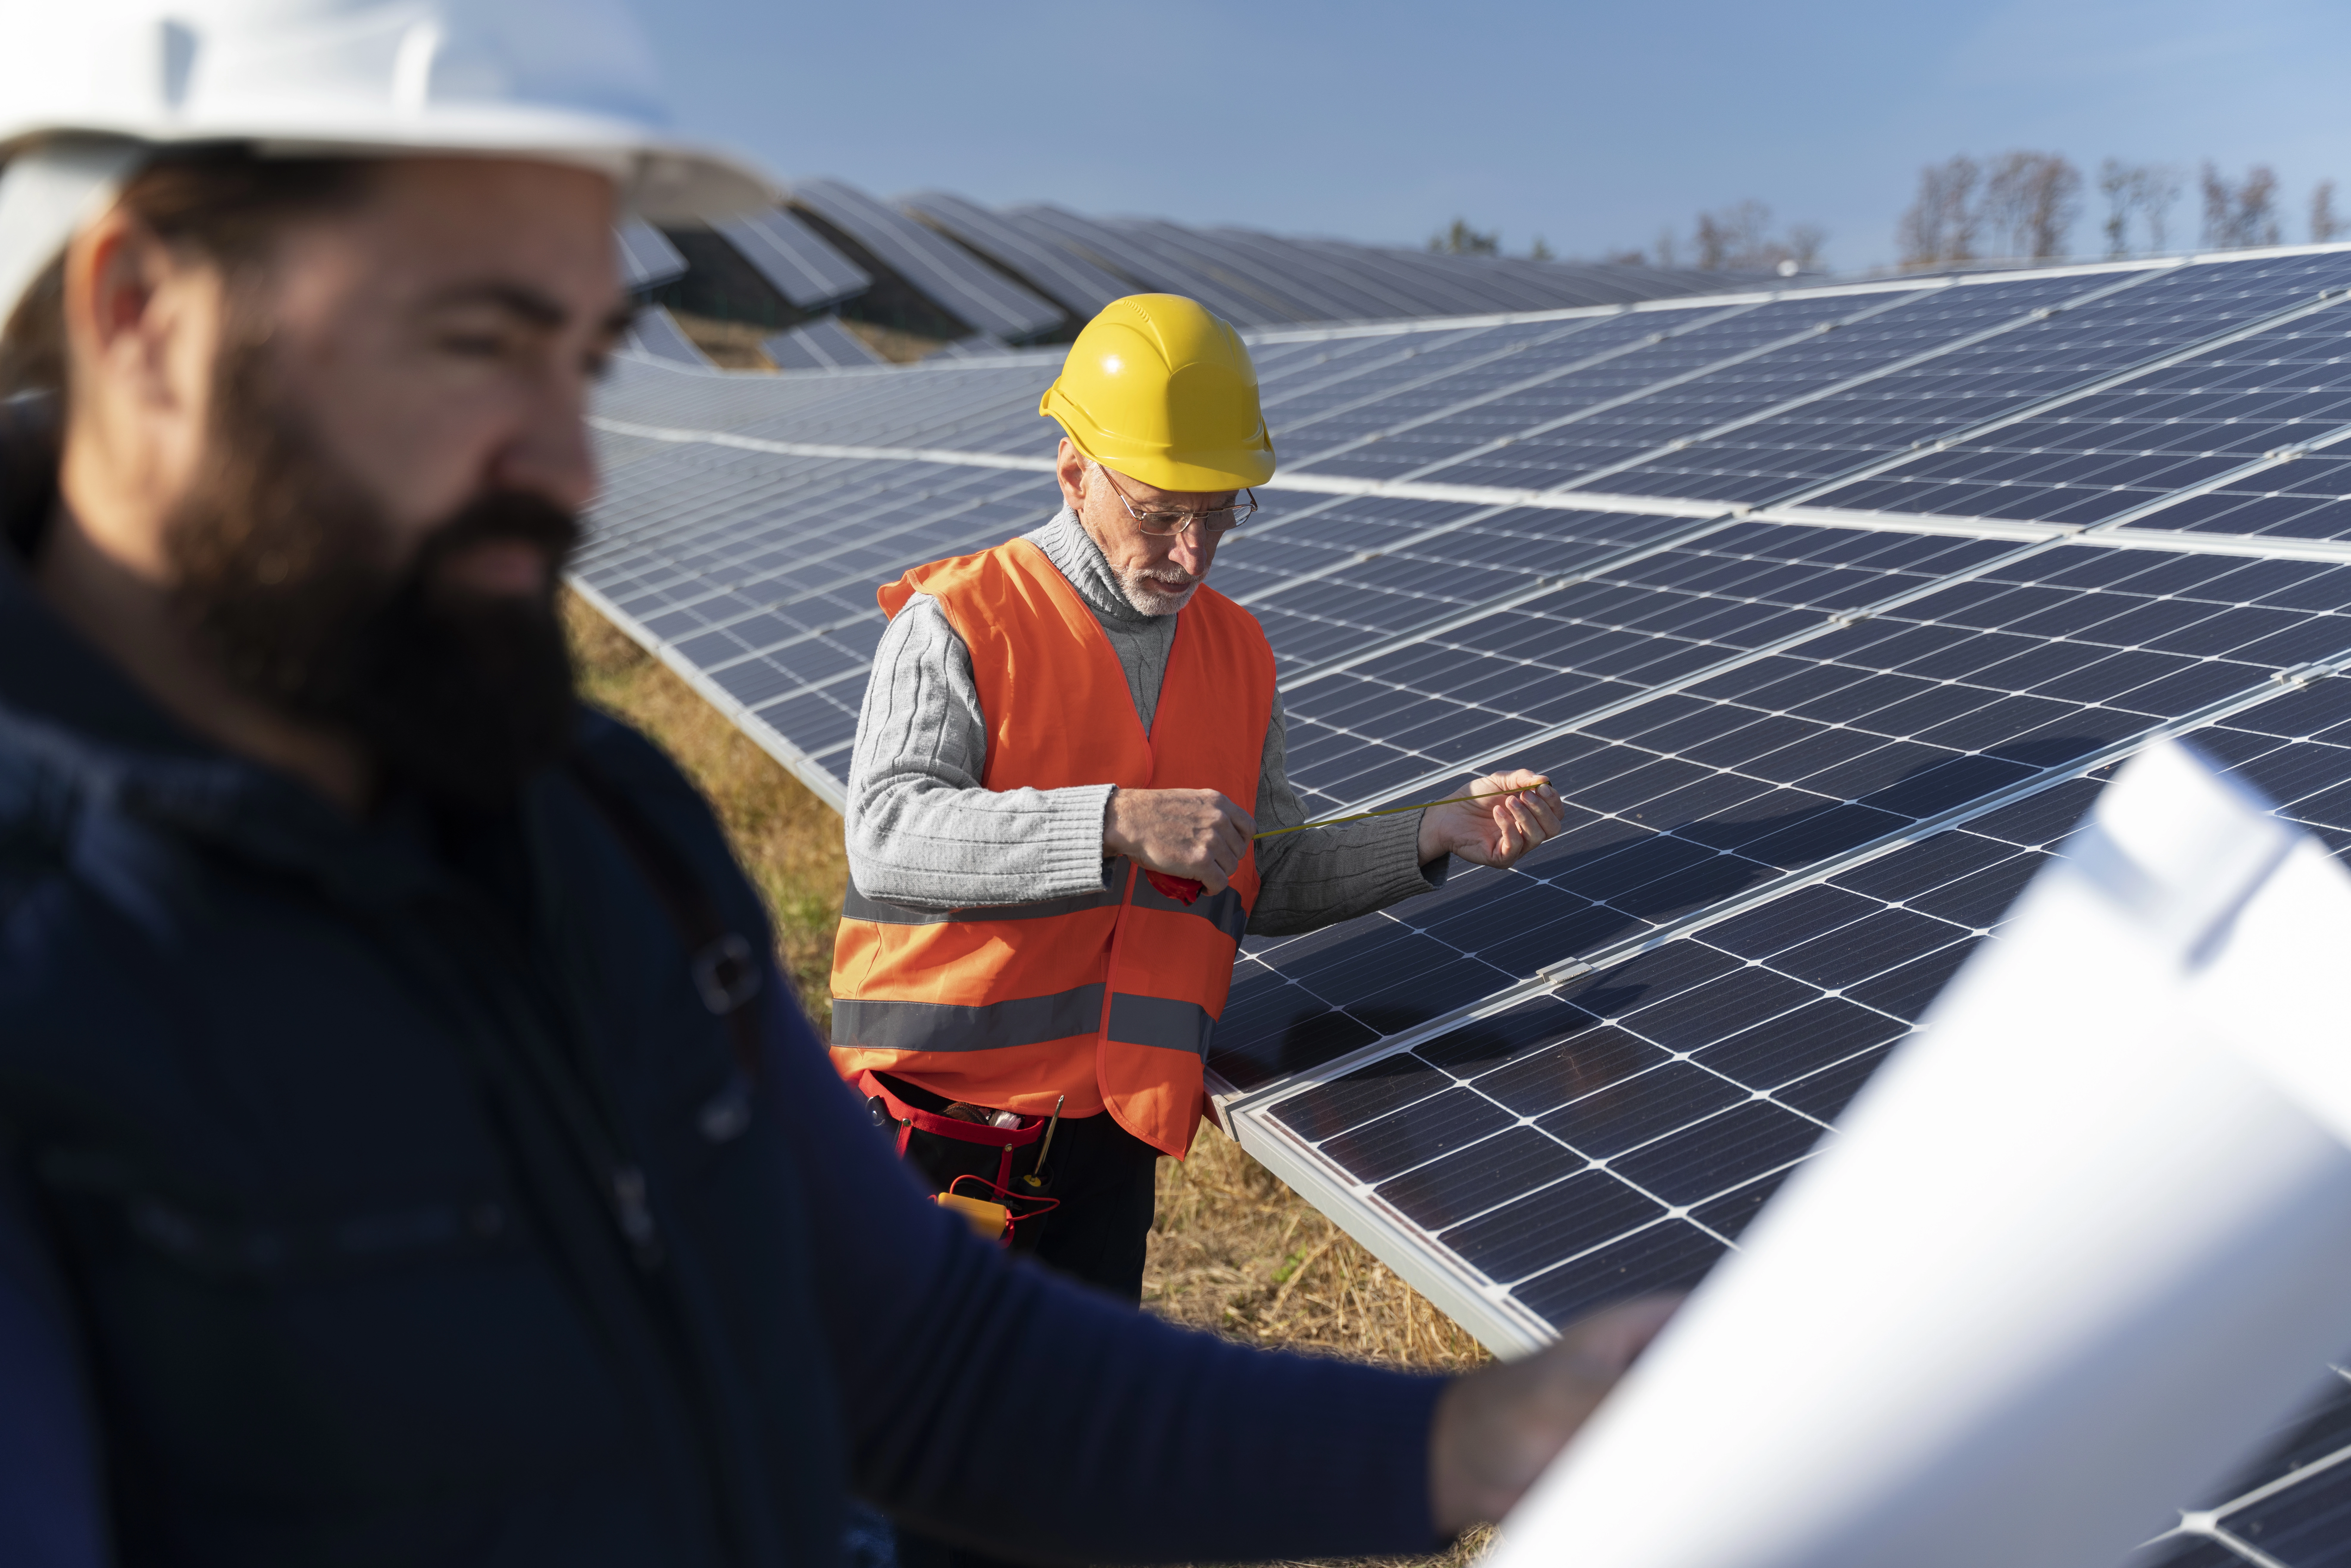
The first step in your solar panel installation journey is an initial consultation and site assessment. During this phase, a solar energy expert will visit your property to evaluate its suitability for solar panels. Key factors considered include:
- Roof Condition: The roof should be in good condition and have sufficient space for the panels.
- Sun Exposure: The expert will assess how much sunlight your roof receives throughout the day, taking into account any potential shading from trees or buildings.
- Energy Needs: An analysis of your current energy consumption will help determine the number and size of panels required.
This assessment is crucial for designing a solar panel system that maximizes efficiency and meets your energy needs.
Step 2: System Design and Proposal
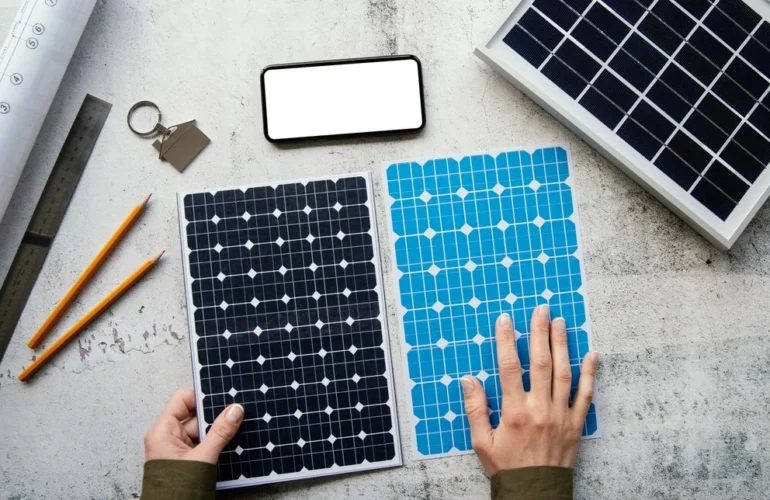
After the site assessment, the next step is system design. Solar engineers will create a customized design tailored to your property’s specifications. This design will include:
- Panel Layout: The optimal arrangement of solar panels on your roof or property.
- System Size: The number of panels needed to generate the desired amount of electricity.
- Inverter Placement: The location of inverters, which convert DC electricity from the panels into AC electricity for use in your home.
Once the design is complete, you’ll receive a detailed proposal outlining the cost, expected energy savings, and return on investment. It’s essential to review this proposal carefully and ask any questions you may have before moving forward.
Step 3: Permitting and Paperwork
Solar panel installation involves several permits and paperwork, which can vary depending on your location and the complexity of the installation. Common permits include:
- Building Permits: Required to ensure the installation complies with local building codes.
- Electrical Permits: Ensure that all electrical work meets safety standards.
- Interconnection Agreement: If you plan to connect your solar panel system to the grid, you’ll need an agreement with your utility company.
Your solar installation company will typically handle the permitting process on your behalf, streamlining the process and ensuring all necessary approvals are obtained.
Step 4: Equipment Procurement
Once permits are secured, it’s time to procure the necessary equipment. This includes:
- Solar Panels: High-quality panels that match your system design.
- Inverters: Devices that convert DC electricity from the panels into usable AC electricity.
- Mounting Systems: Hardware to securely attach the panels to your roof or property.
- Monitoring Systems: Optional systems that allow you to track your solar energy production in real-time.
Choosing reputable suppliers and high-quality equipment is essential to ensuring the longevity and efficiency of your solar panel system.
Step 5: Installation Day
With all preparations complete, the installation process can begin. Here’s what to expect on installation day:
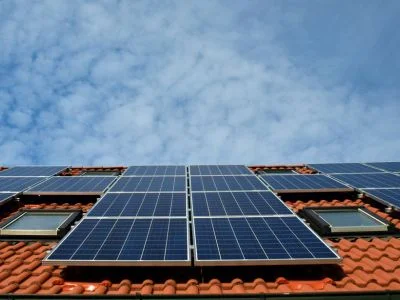
- Roof Preparation: If installing on a roof, the installation team will start by preparing the roof surface and installing mounting brackets.
- Panel Installation: Solar panels are carefully placed and secured to the mounting brackets.
- Electrical Wiring: The panels are connected to the inverter(s) and the electrical system of your home.
- Inverter Installation: Inverters are installed and connected to the main electrical panel.
- System Testing: The entire system is thoroughly tested to ensure it operates correctly and safely.
The installation process typically takes one to three days, depending on the size and complexity of the system.
Step 6: Inspection and Approval
After installation, your system will undergo a final inspection to ensure it meets all safety and code requirements. An inspector from your local building department or utility company will review the installation. They may check:
- Proper Panel Placement: Ensuring panels are securely mounted and positioned correctly.
- Electrical Connections: Verifying that all wiring and connections meet safety standards.
- Inverter and Monitoring System: Confirming that the inverter is functioning correctly and any monitoring systems are operational.
Once the inspection is complete and your system is approved, you can move on to the final step.
Step 7: Activation and Monitoring
With all approvals in place, it’s time to activate your solar panel system and start generating clean energy. Your solar installation company will guide you through the activation process, which typically involves:
- System Activation: Turning on the system and ensuring it starts generating electricity.
- Monitoring Setup: If you have a monitoring system, you’ll be shown how to access and interpret the data.
It’s important to regularly monitor your system to ensure it’s operating efficiently. Many modern monitoring systems provide real-time data and alerts, making it easy to track performance and identify any issues.
Maintenance and Longevity
While solar panels are designed for durability and minimal maintenance, periodic checks are essential to ensure optimal performance. Here are some tips for maintaining your solar panel system:
- Regular Cleaning: Clean panels periodically to remove dirt and debris that can reduce efficiency.
- Inspect for Damage: Check for any signs of damage, such as cracks or loose connections.
- Monitor Performance: Keep an eye on your system’s performance and address any significant drops in energy production.
With proper care, your solar panel system can provide clean energy for 25 years or more, offering substantial long-term savings and environmental benefits.
Conclusion
The solar panel installation process, while involving several steps, ultimately leads to significant financial and environmental benefits. By understanding each phase, from initial consultation to activation, you can make informed decisions and enjoy a smooth transition to solar energy.
Ready to take the first step towards energy independence? Contact a reputable solar installation company today to schedule your initial consultation and start your journey to a sustainable future. Embrace the power of the sun and make a positive impact on both your wallet and the planet.


